ICT and Webtools 
for Language Teaching and Learning
Web-tools have become so user-friendly that even young children can use them. If they can — us teachers can do it as well. 😀
The ICT-project ideas shown on this page fit perfectly into creative, communicative language classrooms and can be done without any specialist technical knowledge or skills.
All the software and web-tools used in these projects can be downloaded for free.
The projects are all
- based on the principles of communicative language teaching and show the learners even at A1 level that the foreign language is a tool for real life communication.
- They foster social interaction, group learning and learning from one another.
- They help develop skills for self- and peer evaluation and feedback.
- They motivate learners to do their best and produce high quality products that they proudly present online.
- They provide extra oral practice outside the classroom and thus help improve oral skills (fluency, intonation, pronunciation)
- They teach learners to focus on their target audience and use language to convey a clear message.
You’ll find more examples on my pages on WRITING and SPEAKING.
Before looking at some examples of tasks and activities in detail, check out my favorite tools here:
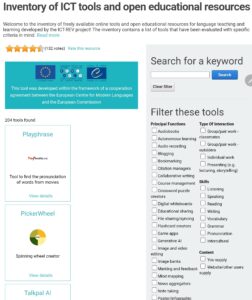
For an excellent and complete overview of ICT tools for language teaching check out the ECML Inventory of ICT tools.
Let’s start with the most basic idea that can be done after about two weeks of English at A1 level:
A1/Elementary:
Speaking and listening: Getting to know your new classmates
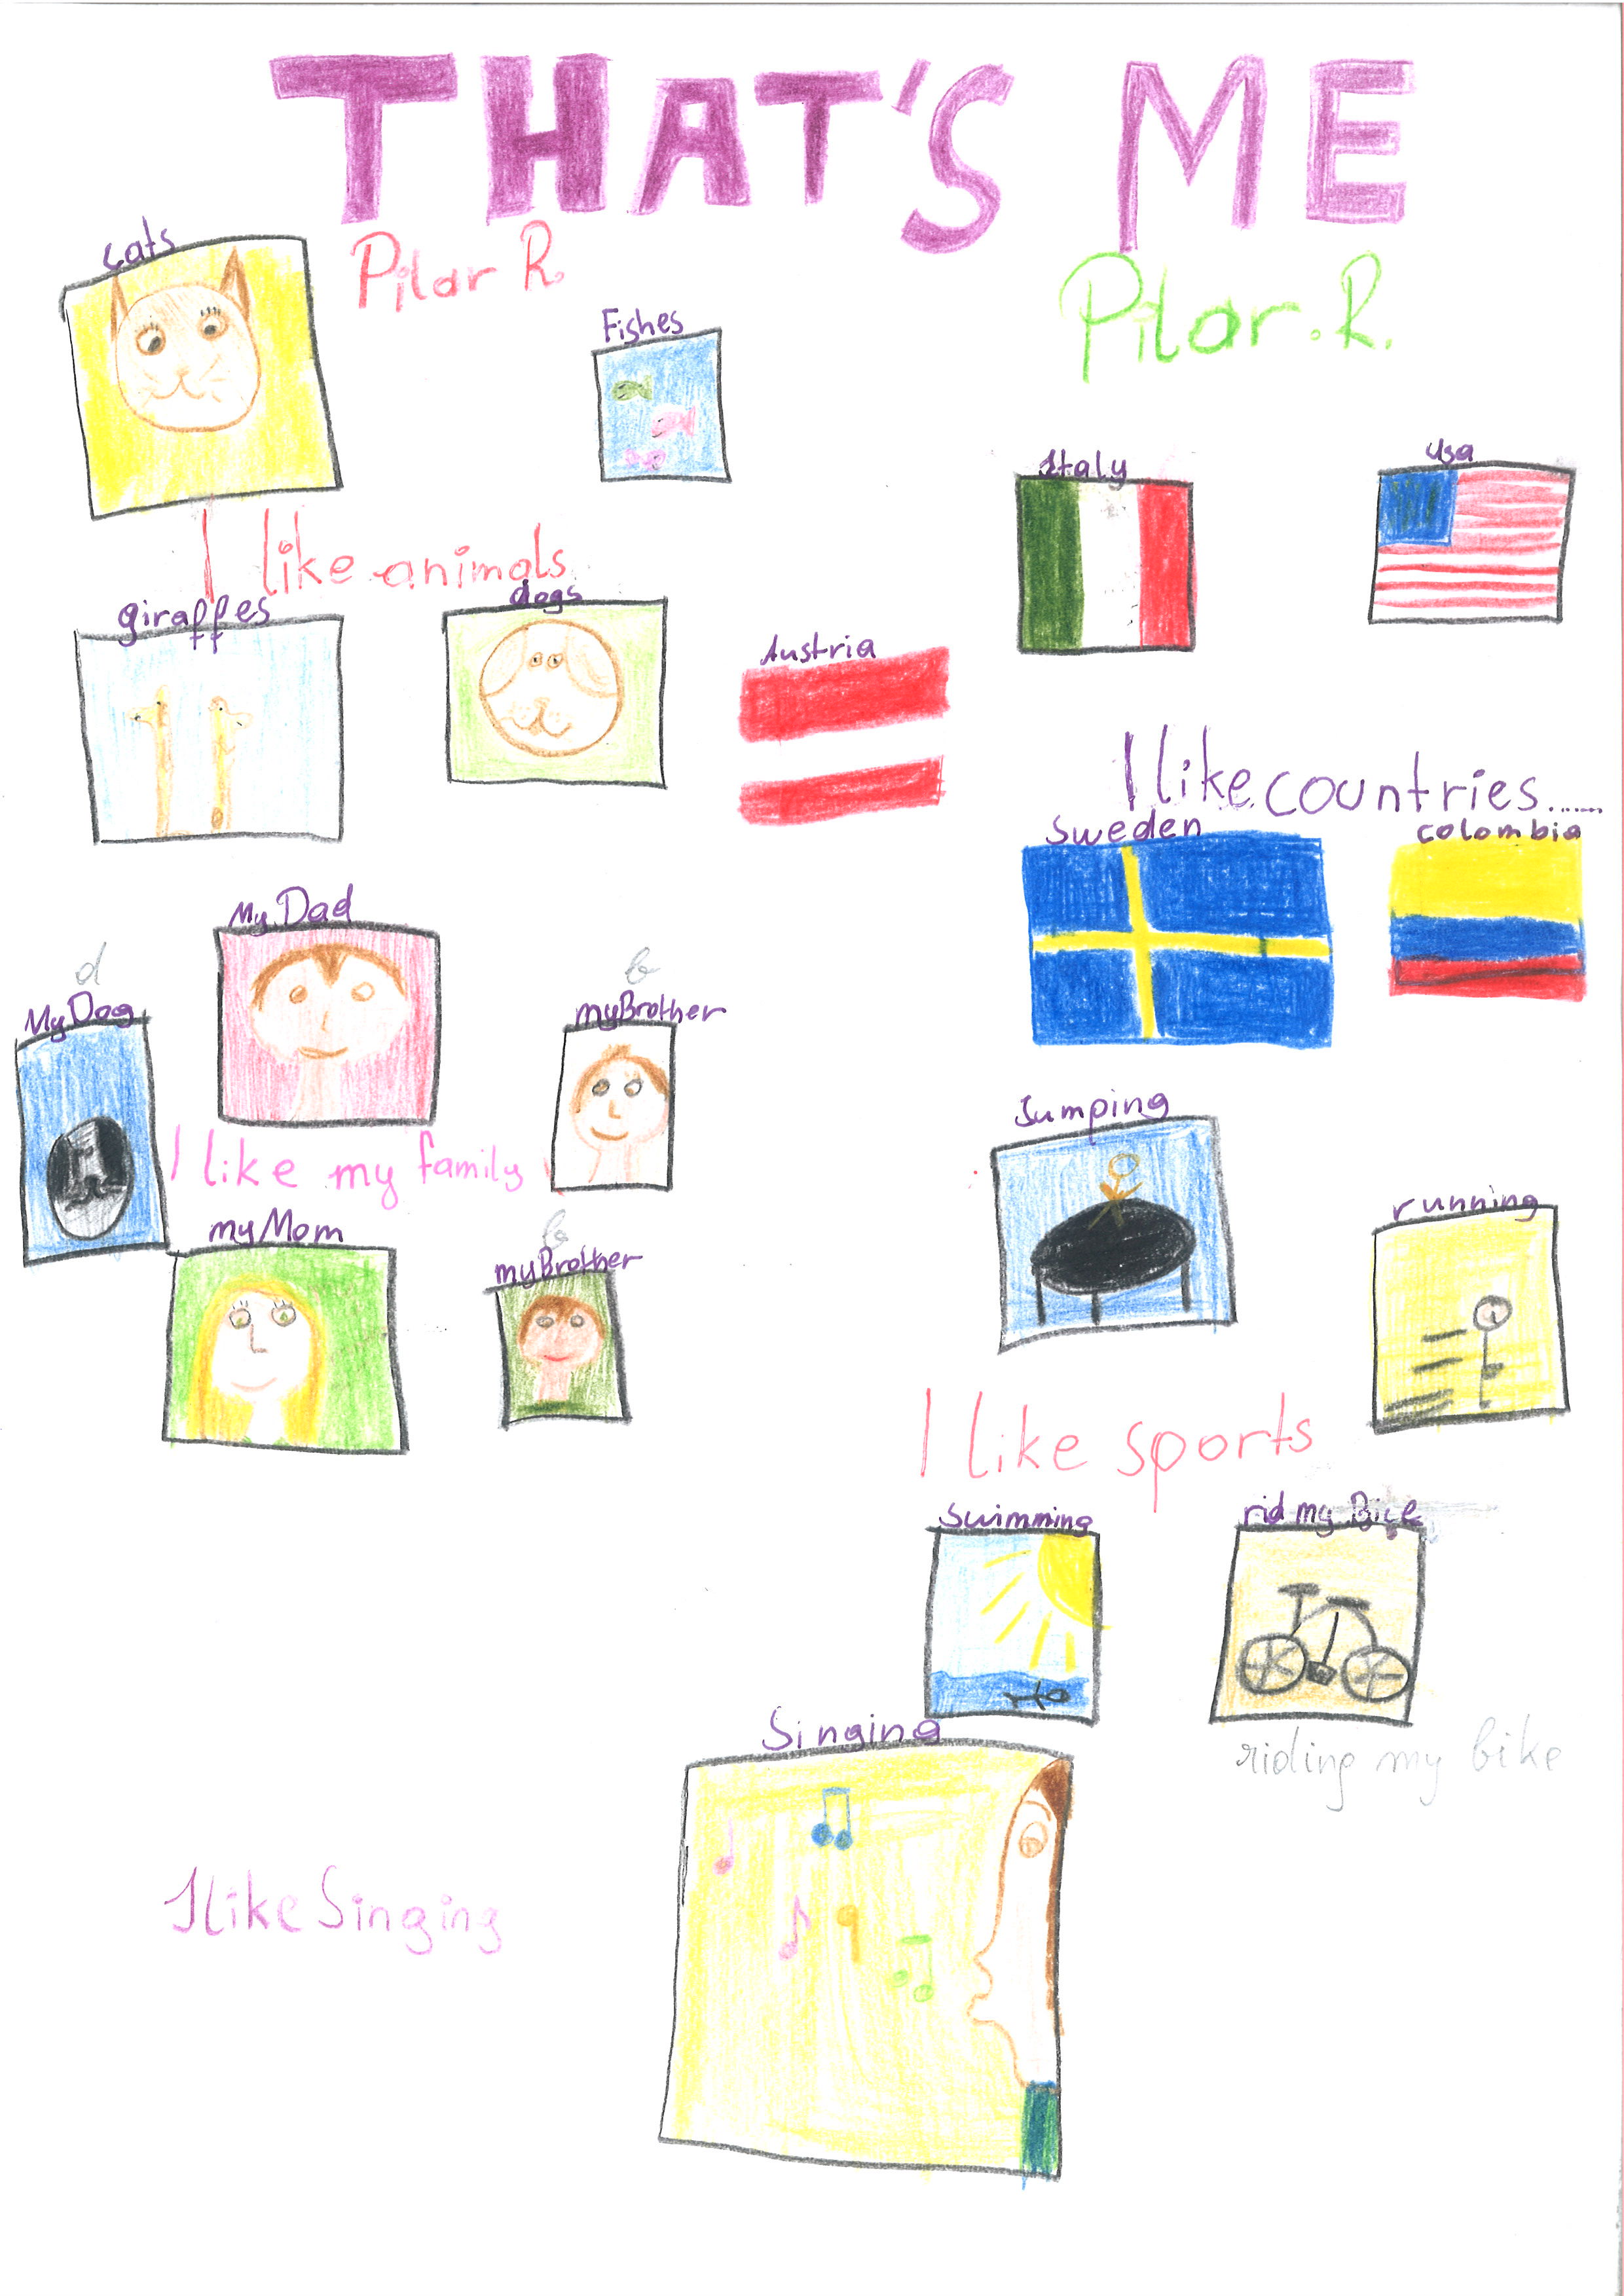
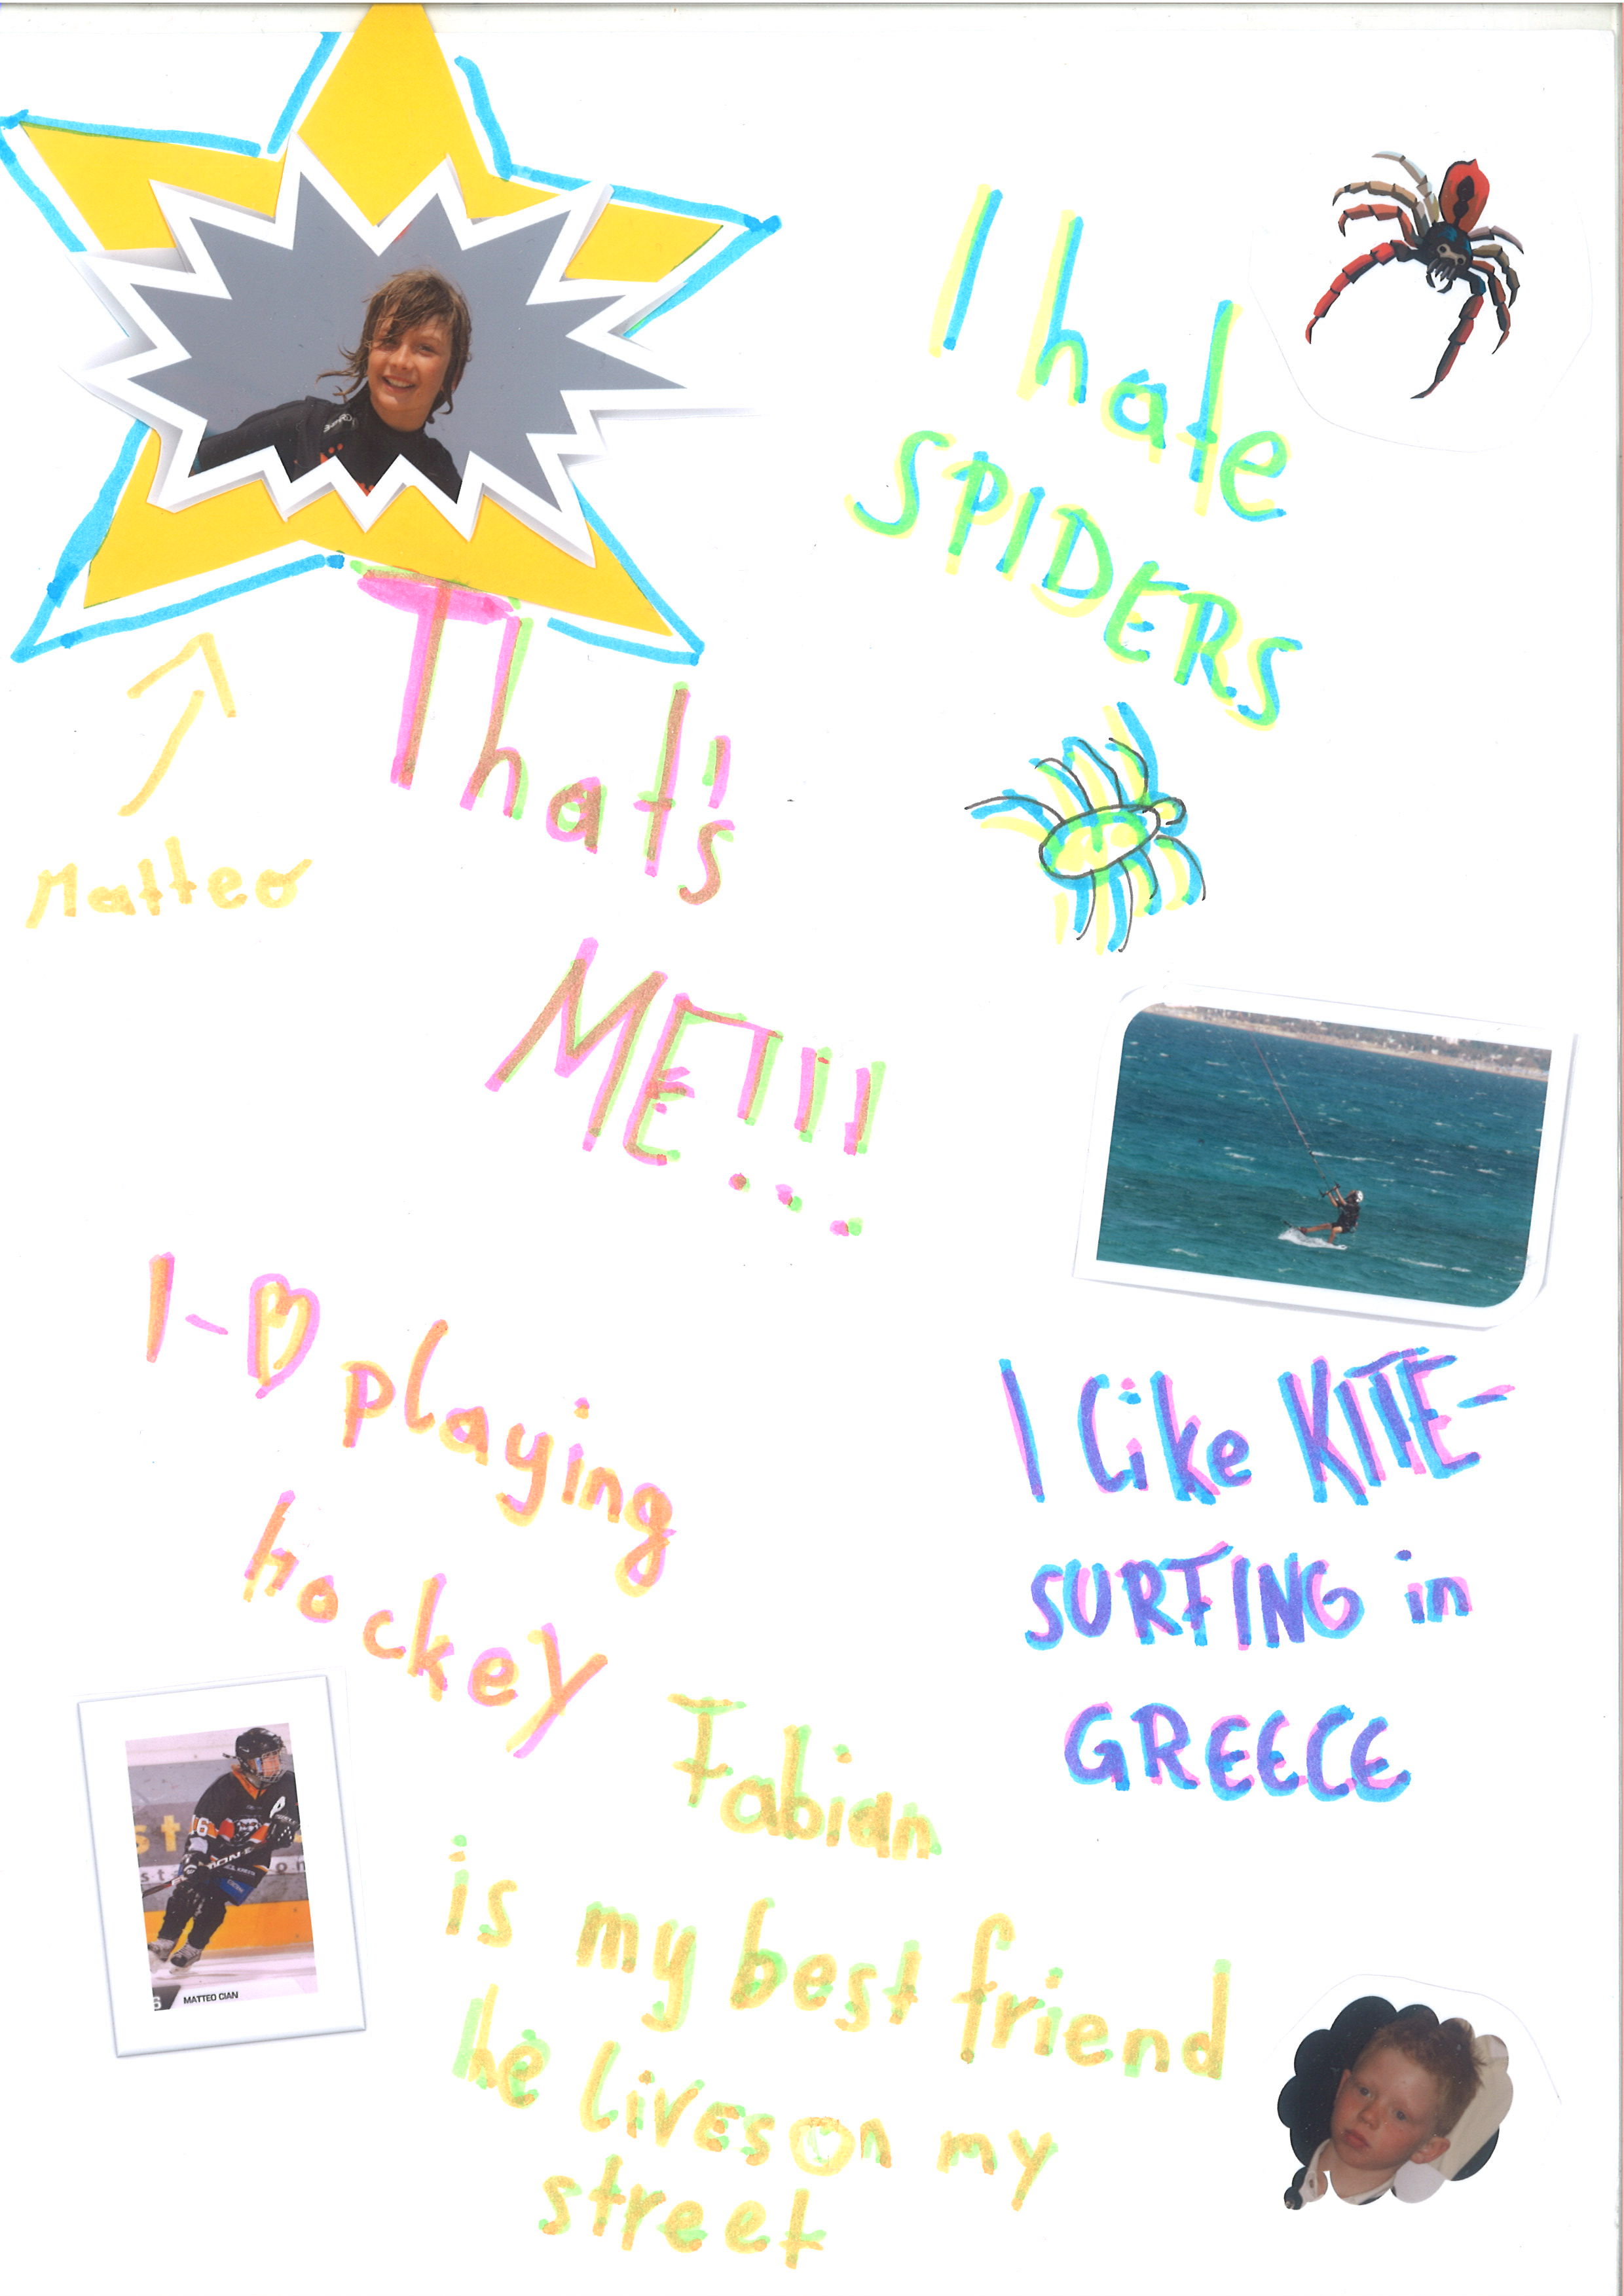
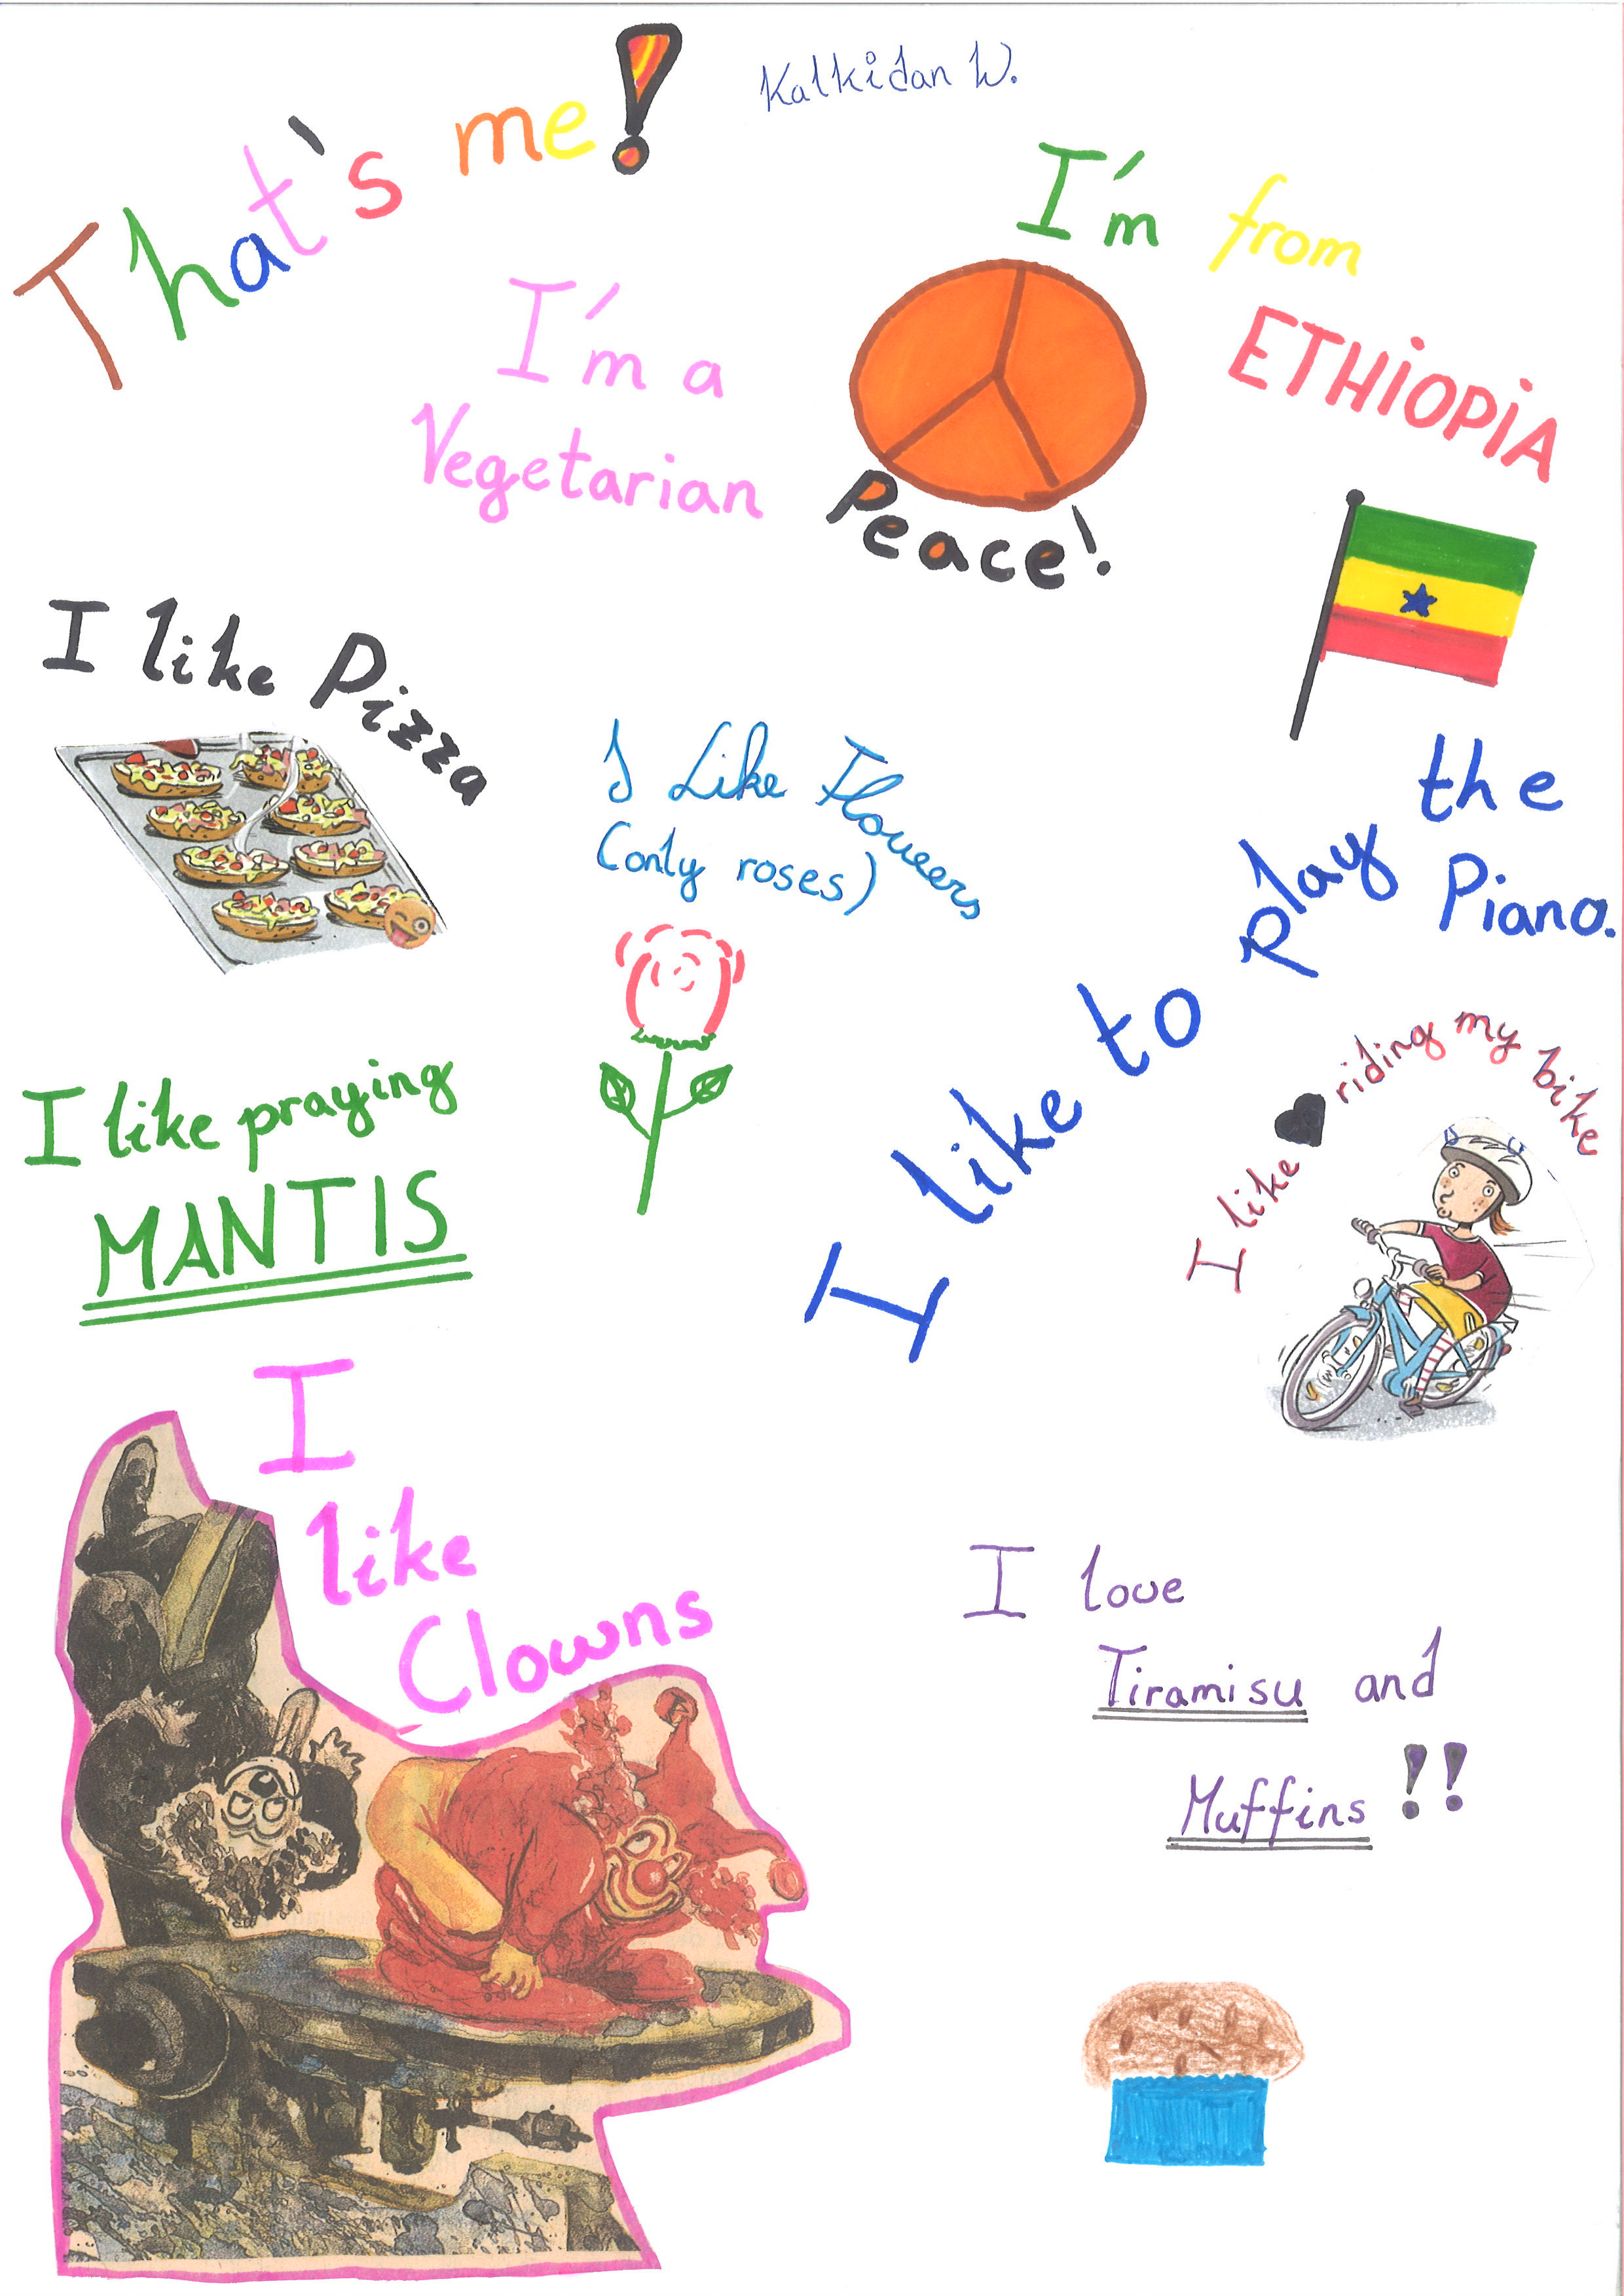
Step 1: That’s Me
In their first week of learning English learners produce a collage showing what is important to them. Depending on the learners’ age these collages will include pictures of pets, hobbies, sports, family members, games, places etc. In class the learners label their collages with the help of the teacher. The teacher then scans all the collages and displays them on a Moodle database or on a padlet. It is important that the collages are visible for the whole class.
Step 2: Who are you?
Asking questions: The learners practice asking simple questions to find out more about their new classmates: What is your name? Where do you come from? Do you have any brothers and sisters? Do you have a pet? (Worksheet: Finding out about my friends)
Interviews: The learners work in pairs and interview each other using the questions they have learned. They practice these interviews a few times until they feel confident to record their interviews on the teacher’s mobile phone. The learners record their interviews and post the sound-files online together with the scanned collages. Listen to a few of the interviews recorded in the second week of the school-year. Click on the phones to start the interviews.
The most convenient tools for this activity are padlets. There the learners can easily upload a photo of their collage and record the interview directly into the tool.

Step 3: Listening comprehension and grammar: I play — he/she plays:
After raising the learners’ awareness for the use of the 3rd person s the learners are asked to listen to all the interviews online and find one thing they have in common with each of their new classmates. This is their first listening comprehension exercise. In contrast to the listening exercises in textbooks, which deal with fictitious characters, learners are here listening to each other and really want to find out new things about their new classmates.
Step 4: Writing
After listening the learners are asked to write a text about all the things they share with their new friends. Have a look at my example here. Remind the learners not to forget to use the third person s whenever they write about their friends. (I like pizza. —- Peter likes pizza.)
Technical requirements: Set up a Moodle database or a padlet to share all these entries. The learners use their mobile phone to record the interviews and upload them.
In this activity the students learn from the start that the new language is used for communication. Young learners love to see their work displayed online and find it quite magic to see and listen to their work on the internet. This activity also helps them to get to know one another and to focus on the things they share rather than on the differences between them. Even boys and girls have to find something they have in common — and it always works! 😉
A1 to C2: Any level
Speaking Homework and Video Presentations
In most classrooms it is fairly difficult to give students enough speaking time. While pairwork and group speaking tasks are useful for improving fluency, these activities are not very helpful for expanding vocabulary and grammar. For this reason, I ask my learners to record one speaking task after each topic that we have worked on. In this task the learners should show the new language (vocabulary and/or grammar) in a meaningful, communicative task. When recording their own voice learners tend to be quite critical with themselves and therefore plan their presentations well and often record the presentations several times before sharing them online. This leads to higher quality and to a heightened awareness of pronunciation, intonation, grammar and word choice. Students listen to one another’s presentations and copy good phrases or good ideas from their classmates.
I use  flip for this purpose. Flip is owned by Microsoft and is completely free. It has been designed for schools and meets all the requirements of the data protection act. It is suuuuper easy to use and share the videos all in one grid. Have a look at the teacher’s instructions here.
I have used flip for all levels: A1 to C2: Introduce yourself to your new classmates — A1 to A2: Talk about your favorite day in the year — C2: Convince your colleagues that notional grammar is more efficient than traditional grammar.
Any topic will work.
If your students prefer to produce presentations where they are not seen, but hide behind powerpoint slides, use KNOVIO.com or powerpoint with sound recording instead. You will find my instructions on my HELP page.
Examples of year 1 students: My favorite day…
After learning to talk about their daily routines students produce little online videos where they talk about their favorite day in the year. They are asked to prepare a few drawings showing events on this day and show them in their video. This “trick” helps the children structure their little talks without reading a prepared text.
Examples of year 1 students: My favorite day in the year…
More examples of year one video-messages:
My Room, our Flat and my Neighborhood
My dream house
A2 – B1: Lower intermediate
Writing your own online audio-video-books
The following examples of audio-video-books can be used at all levels as soon as learners can write simple texts in English. The format can be used for any topic. When writing their texts the learners are aware of a real audience. This usually motivates them to put in some extra effort and produce high quality work that they are proud of. In addition to the writing practice the learners then read their own texts or stories and record their voice. This way they get extra speaking practice. Speaking and listening to themselves will also help them to remember the new vocabulary that they have used in their texts.
First have a look at the examples. Then read the instructions below.
These examples were produced in a double period in year 1. The students worked in pairs. After a short instruction phase where they were shown how to use the programs they chose a topic of their interest and produced these video-books.
Originally, we used the online tool “bookr” for these books. This tool is no longer available. Since the 2016 version of Powerpoint, I have used this program to create all kinds of short video presentations. The learners can upload their own pictures and use page-flip transitions. Powerpoint allows you to record your voice and save the whole presentation as a video. Find my student-friendly instructions here:
Bookcreator: A great tool for creative writing, speaking, reading and more
More recently, we have used the tool bookcreator.com for all kinds of online writing activities. It offers an all-in-one solution where the learners can design cool online books by adding text, images, voice and even video. You will find examples of such online multimedia books in the section WRITING. We have used the bookcreator for the “superheroes project” and for the “moods and feelings” project, for example.
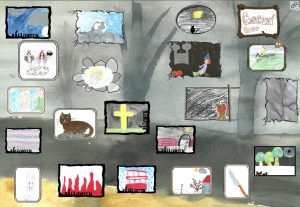
The same idea has been used to create the following spooky story books in a year 2 or 3. This project actually started as a grammar project.
For a detailed description and instructions for this project go to “Writing Spooky Stories”.
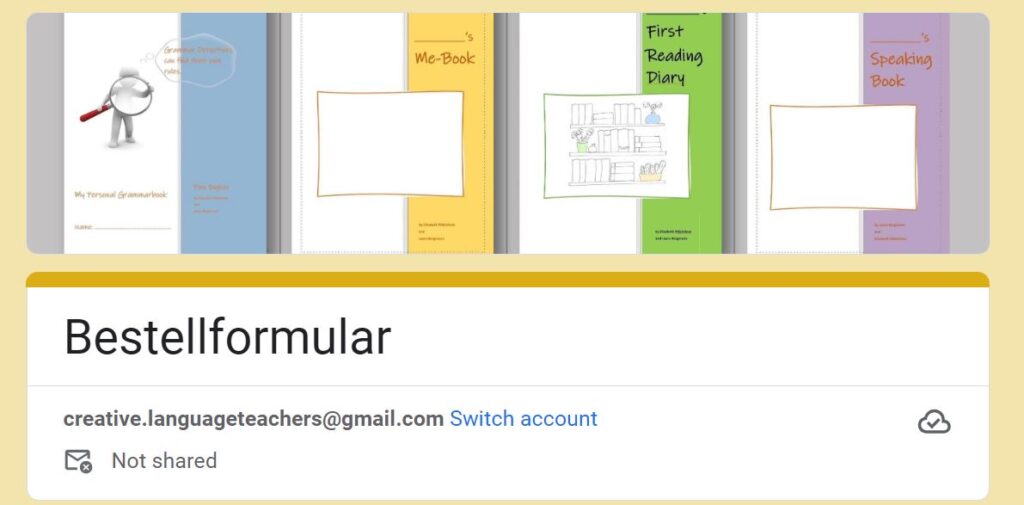
To get started, you can use bookcreator for free. The free version gives you 1 library — so you can work with one class. Each student can work on their own book — but cooperation within the books is only possible in the paid version. In the paid version you can create up to 1000 books and as many libraries as you need (e.g. for each group, class, subject). In my school we share the basic subscription and any teacher can use it. Maybe your parents association can pay for it or refund you? It’s one of the most versatile tools for all subjects.
Fliphtml5
For quick online books without audio I like to use fliphtml5. This tool allows you to upload a pdf file and turn it into an online flipbook that can be shared via link or QR code. We sometimes use it to produce our group magazines.
In some cases we have added voicover to these flipbooks with the help of a simple screen recorder (screencast-o-matic or jing). Find instructions for both on my HELP page. This works very well and produces very nice results.
B1 to C2: Intermediate to Advanced
Video Presentations with KNOVIO.com
Knovio is a good tool for online presentations. Learners upload pictures or a simple power-point presentation and then record their voice for each slide. I have used this tool many times for very different purposes. In each case the students have produced very interesting, creative presentations with a clear focus on their target audience.
Have a look at the following examples and don’t worry about the little mistakes the kids might have made. Some of the examples below were produced by a tool called “mybrainshark”. This tool is no longer available, but Knovio does the same things even better.
Examples
Let’s cook our favorite foods
The following presentations have been produced by year 2 students in the course of a little “food project“. The learners produced their own cookbooks and tried out one of their favorite recipes at home. For their cookbooks they collected recipes and food vocabulary from online sources and used it in their presentations.They took photos of all the steps and then presented their recipes online. Have a look at some delicious, mouth-watering dishes prepared by 2b and 2c 😀
Book Presentations
Book presentations can be very motivating, but they take a lot of time if you do them in the classroom. Therefore, we often do book presentations online. The following examples have been produced by a year 4 (age 14) after a book project on “Being Different”. The students were asked to “walk in the main character’s shoes” and try to show the world from their character’s perspective. For more info about this reading project go to: Popular books for years 4-5-6 and scroll down the page to the project “Being Different”.
In this project the students also produced “reading booklets” that we shared online. Have a look at these examples:
The Curious Incident of the Dog in the Nighttime 1
The Curious Incident of the Dog in the Nighttime 2
For more online bookpresentations visit our blog readingiscool.xyz or click on the following image.
![]()
Radio programs or interviews with the book characters
An interview with Stanley Yelnats (Holes)
The “Positive Negatives” Rap (Gangsta Rap)
TV News about a cases of murder in London (Stone Cold)
Presenting a Topic
Important Steps in the Civil Rights Movement
In the course of our Civil Rights Project students of year 5 produced short online presentations. The learners were given a timeline of important steps in the Civil Rights movement. They were asked to choose 3 important events, find additional information about them and briefly explain their importance in the Civil Rights movement to their classmates. This task combines reading comprehension (finding information) and speaking skills and helps the learners to distinguish between important, relevant information and useless details.
Civil Rights Activists: Mini Biographies
In the second example the students had to choose an important Civil Rights leader and present this person to the class.
Radio Shows
Sometimes we do not need pictures and videos but want to concentrate on listening only. In this case we use a program called vocaroo.com or clyp.it . These programs records sound only and, just like Knovio , provide the students with a link to the file.
Producing radio shows can be a very interesting project. Radio shows are not easy to produce because the speakers must explain everything in detail and cannot refer to any pictures or visuals. Thus, these radio shows are often more demanding than video messages.
In the following examples the learners (age 12-13) had worked on mysteries and produced short radio programs about mysterious events happening in our area. See the instructions here.
Elevator Speeches: a great way to present your message convincingly
These “elevator speeches” have been produced in a “research project” of year 4 students. The students worked in groups on a topic of their choice and presented their results orally and in writing.
The project handout for the research project
Instructions for the learners What is an elevator speech?
Click on the headphones to listen to the speeches.

A few examples of “research booklets” produced in this project.